

This week has been an introduction to the basic production pipeline of working between Maya and Unity. We started out by setting our scale with the UE4 Mannequin, imported in as an .fbx as a reference for what would be 6ft/182cm
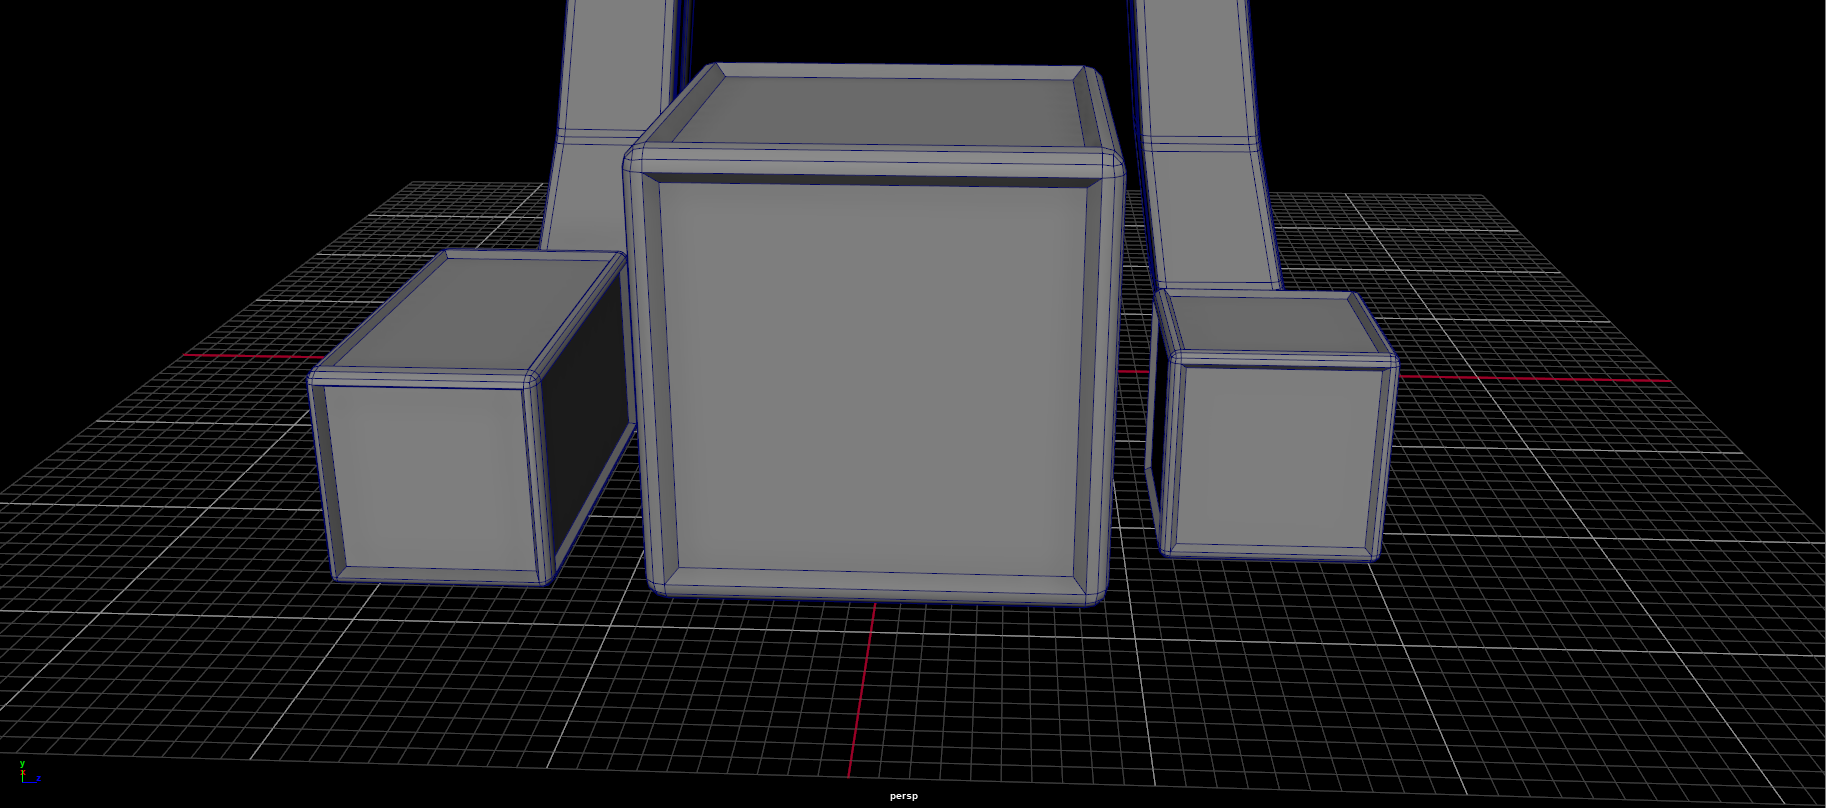
Using the mannequin (hidden in this shot) I created a regular 182cm box. I beveled the edges and extruded the faces in to create a slightly more dynamic surface for later. Using this box as a base, I scaled the height in half to create a rectangle, and overall scaled the box in half for a small box.

For fun, I created this big archway by making a huge rectangle, beveling the edges, and deleting the middle faces and manually bridging the inside faces.

I found this polygon primitive called a Platonic Solid and thought, why not use this as a base for an abstract tree! Basically I would select the faces naturally coming together in a pentagonal shape and extrude them out to give the general shape of a tree.

Trunk was created by extruding the bottom-most faces down.

All of my original Assets in scale

Imported into UE4 as .fbx
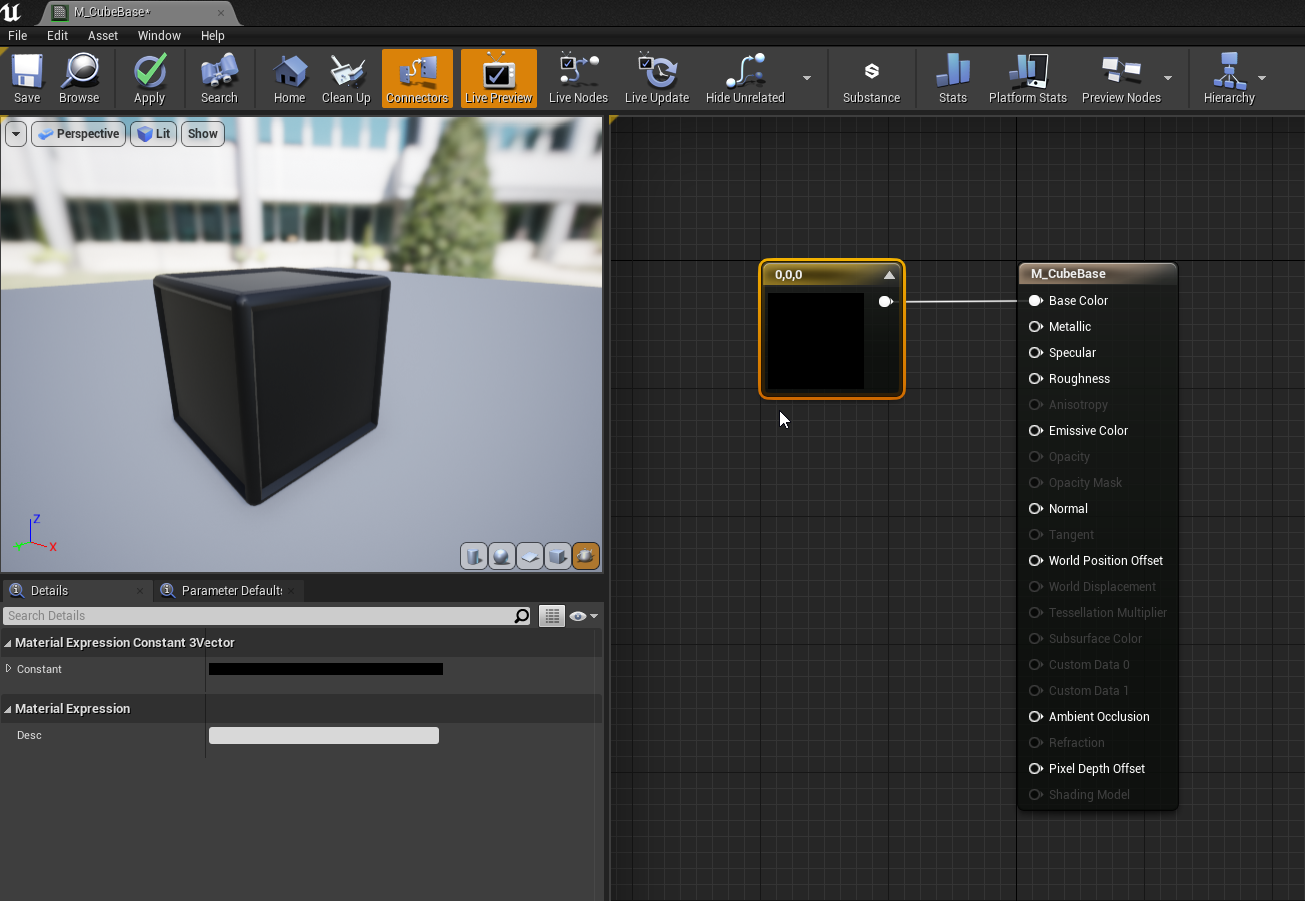
Created a material by RMB clicking in the content browser, and double clicking the node that appeared. by holding down "3" when clicking in the workspace we created a node with 3 value inputs. This will function as our Base Color node.

Right clicking on the node and selecting create material parameter allows us to be able to easily manipulate these values should we instance the material into different variations later on.

Holding "1" when clicking allows the creation of a node with only 1 input value, and we did this 3 times to create our Metallic, Specular, and Roughness inputs. All were converted into Material Parameters.

Nodes plugged into the corresponding inputs and values were assigned.

a fresnel node was created by right clicking and typing "fresnel" along with some input nodes and multiplied by a color value. These nodes were then grouped together to easily be moved together and kept organized and tidy.

Emissive node + Fresnel group plugged into Emissive Color.

Right click over M_CubeBase to Create a Material Instance

Color Emiss and Fresnel color variations to create an alternate Material.


File> New Level, to start out with a nice clean floor with no default props in the way.

In project settings we went to Engine> Rendering > Default Settings> and turned off Auto Exposure. This saves time when entering the game engine by avoiding the "eye adjusting" effect included in Unreal.

Another instance of the M_CubeBase material to be assigned to the floor. We also organized the World Outliner by grouping and creating folders for all existing and potential assets.

First imports of my original assets.

At this point an atmospheric fog was applied and this screen shows how messy things can look while lighting is being worked out. Overall I ended up coloring the Fog Black and lowering its opacity as I wanted my assets to have glowing materials and as it was everything was starting to feel overblown.

Beauty Shot

Beauty Shot

While this is obviously chaotic and bizarre, I definitely feel like I got to explore and really have fun with this intro to Unreal, and I'm excited to put together what I've learned so far in a more coherent and intentional package in future projects.


No comments:
Post a Comment